

Sports Equipment Manufacturer

A practical sequence for commercial sports hardwood flooring, with site-release checks, concealed-work hold points, finish coordination, and handover records.
Contents
This sports wooden floor installation guide follows a controlled sequence: release the site, verify the approved layout and materials, build the specified substructure, lay the wood surface, complete markings and finish, then document inspection and handover. The exact layers, fixings, finish products, and release conditions must come from the selected system’s approved drawings and manufacturer instructions. At handoff, record the system drawing, finish release conditions, and maintenance plan for the school gym wood flooringschool gym wood flooring project.
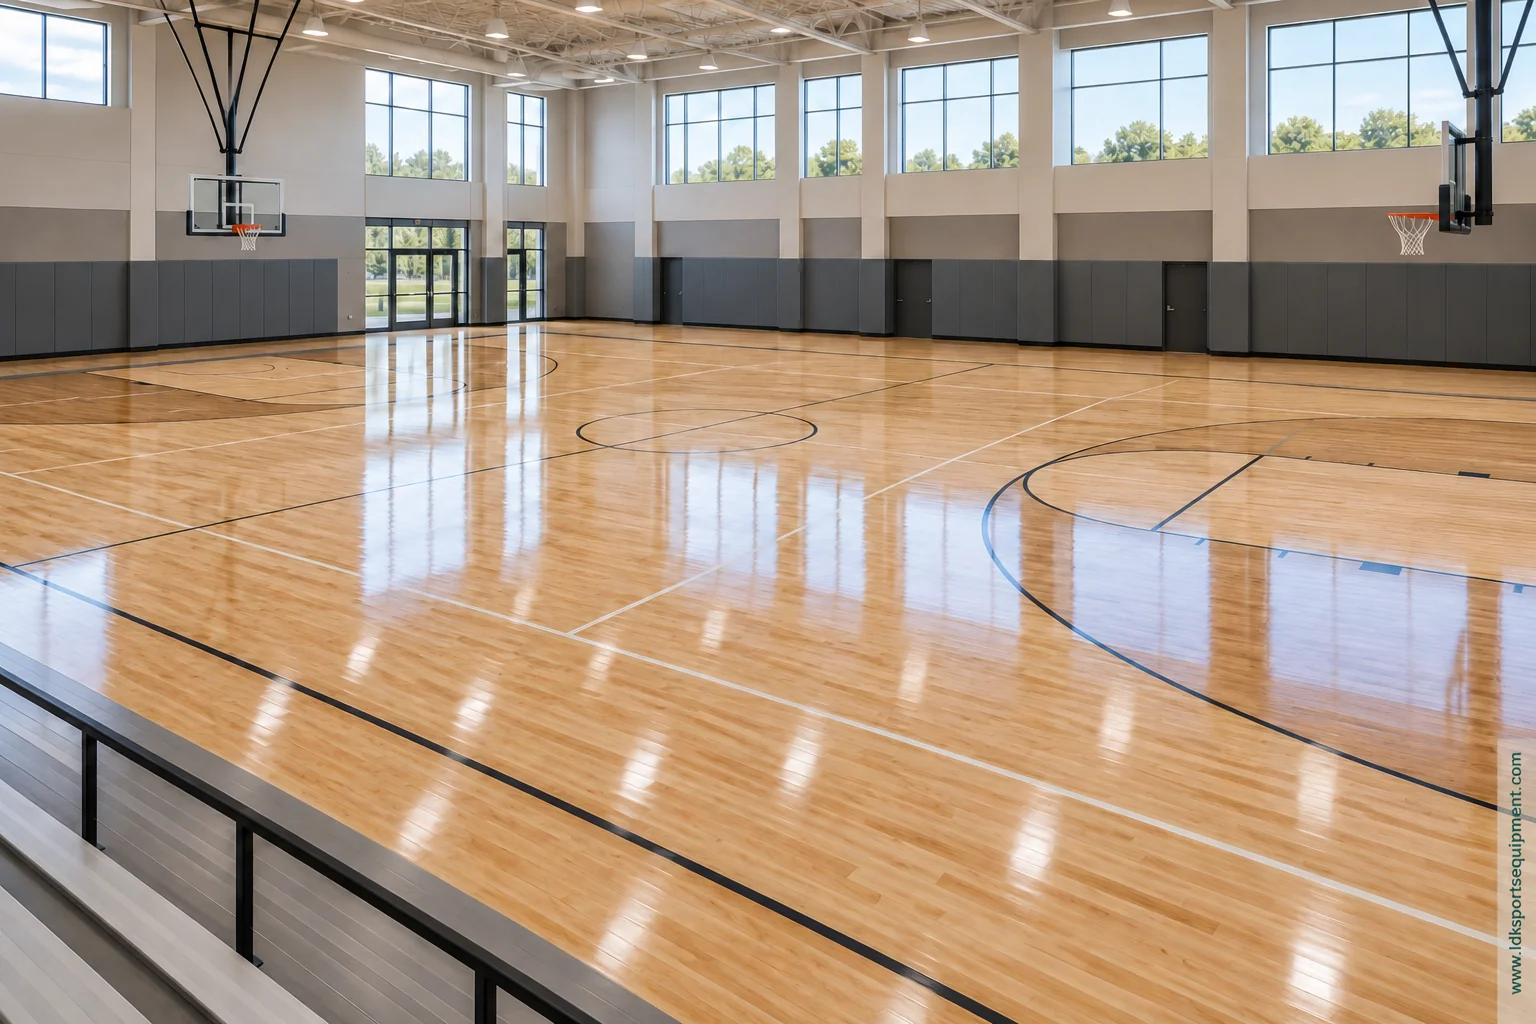
The floor area is ready for release only after it can receive and protect the system. Overhead work, wet trades, glazing, and other activities that could introduce water, dust, impact, or moving equipment above the floor should be complete. The room must be securable, with delivery and installation routes clear.
Before releasing the room, the general contractor and flooring lead should review the project’s substrate and environmental checks together. Record the actual inspection results and compare them with the requirements for the selected floor system. The LDK gym floor moisture-barrier guide covers moisture-control considerations; use the project’s applicable requirements rather than copying a threshold from another floor or market.
The wood-delivery check also includes the room conditions and substrate moisture. Record them before delivery and again when materials arrive, then compare the readings with the selected product’s requirements. Follow that product’s instructions for moisture testing and any acclimation or conditioning; the NWFA guidance is a general reference and says manufacturer instructions take precedence.
Record these release items before materials enter the work area:
Agree on a written hold point: no flooring materials are installed until required checks pass, open defects are assigned, and the responsible parties sign the release. This keeps concrete corrections, leaks, or unresolved overhead work from becoming concealed beneath the floor.
Before installation, compare delivered materials with the approved submittals. Product labels and quantities should match the schedule; note visible damage, water exposure, shortages, or discrepancies before components are distributed around the room.
Next, coordinate the floor’s reference lines with the approved court plan. The playing-area orientation, court-marking layout, board direction, perimeter details, transitions, and any logos or sleeves that affect the surface should match that plan. The project team should identify who supplies the marking plan and who checks it before paint or finish work begins.
The National Wood Flooring Association’s 2025 installation guidelines include separate guidance on jobsite conditions, layout, substrates, and installation methods. Treat those as general wood-flooring guidance: the publication says specific product manufacturer recommendations take precedence, and local practices and requirements may differ. Since the NWFA publication treats jobsite conditions, layout, substrates and methods separately, pair those instructions with the sports wood floor installationsports wood floor installation guide.
Keep one approved drawing set at the work area. Mark revisions clearly so the crew, court-line contractor, and project team are using the same layout rather than working from separate email copies.
Use the receiving and setting-out check to close the main coordination gaps:
Install the substructure in the order shown in the approved system drawings. A resilient sports-floor assembly may use layers such as moisture-control material, resilient pads, battens or joists, and a subfloor, but the actual components and their arrangement vary by system. Do not substitute a layer or infer spacing, fasteners, or edge details from a different assembly.
Use a hold point before each layer becomes concealed. At that point, compare materials with the submittals, review alignment against the reference lines, and establish that the section is ready to receive the next layer. Photograph concealed work and record any approved field changes with the drawing revision and responsible approver.
For a closer look at resilient components, see the guide to shock-absorbing pads in sports flooring. If the project team is still choosing a build-up, compare single- and double-batten sports floor systems before freezing the submittal. Those pages describe component and system choices; the approved project documents still govern installation.
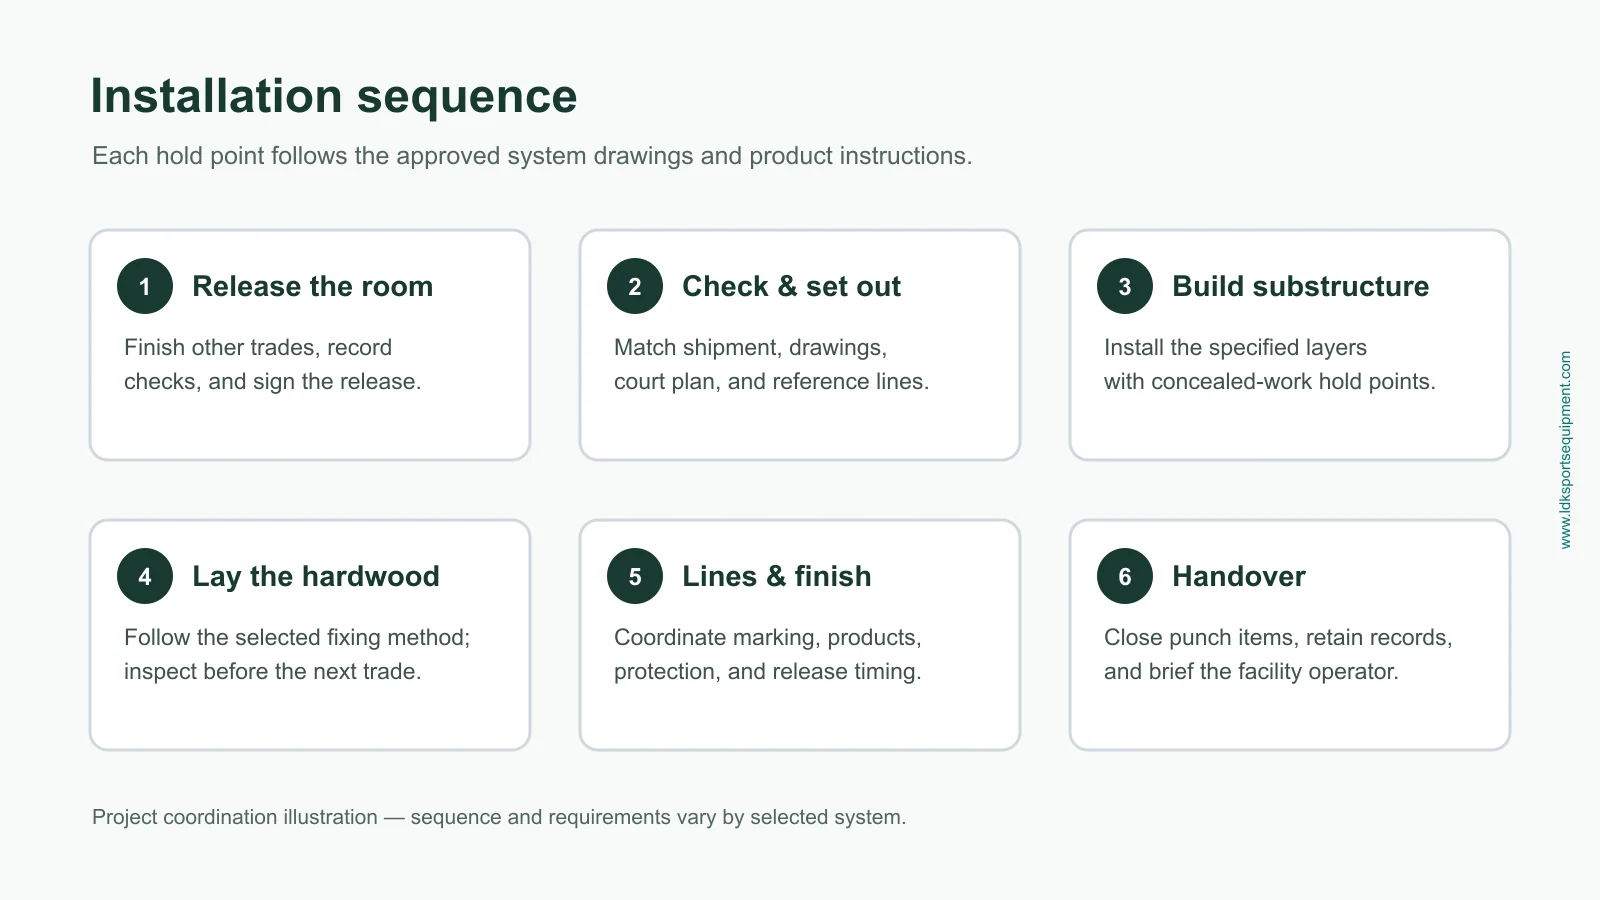
At each concealed-work hold point, document the following before covering the layer:
Install the wood surface only after the substructure has passed its inspection and the setting-out plan is confirmed. Establish the working lines, check board direction and alignment as the installation progresses, and keep joints, edges, and transitions consistent with the approved drawings.
Use only the fixing method specified for the selected assembly. Glue-down, nailed, and floating methods are not interchangeable shortcuts for a sports floor: each must be designed for the layers beneath it and the intended use. The NWFA guideline covers several general installation methods, but it also directs installers to follow the product manufacturer’s instructions.
Before markings or finish work starts, inspect the wood surface with the project team. The review should cover alignment against the layout, visible damage, transitions, and any areas that need correction. Record accepted work and outstanding items so the next trade does not conceal a known defect.
Keep the installation sequence visible to the crew:
Apply court markings and finish in the sequence specified for the selected surface system. Before marking, confirm the approved line plan, colors, and dimensions with the project drawings and the responsible sports-flooring or court-marking lead. Protect the installed surface from dust, water, foot traffic, and other trades while this work is underway.
Use the specified sports-floor products and application instructions. Do not assume that a finish, paint, coat count, sanding sequence, or cure period used on another project applies here. Follow the product documentation for preparation, application conditions, drying, and return-to-use, and keep the floor closed for the stated period.
Once work is complete, inspect the lines and finish under the agreed lighting and review the full floor for visible damage, contamination, incomplete edges, or unresolved trade marks. Record findings on a punch list and close them before removing protection.
Coordinate the closeout in this order:
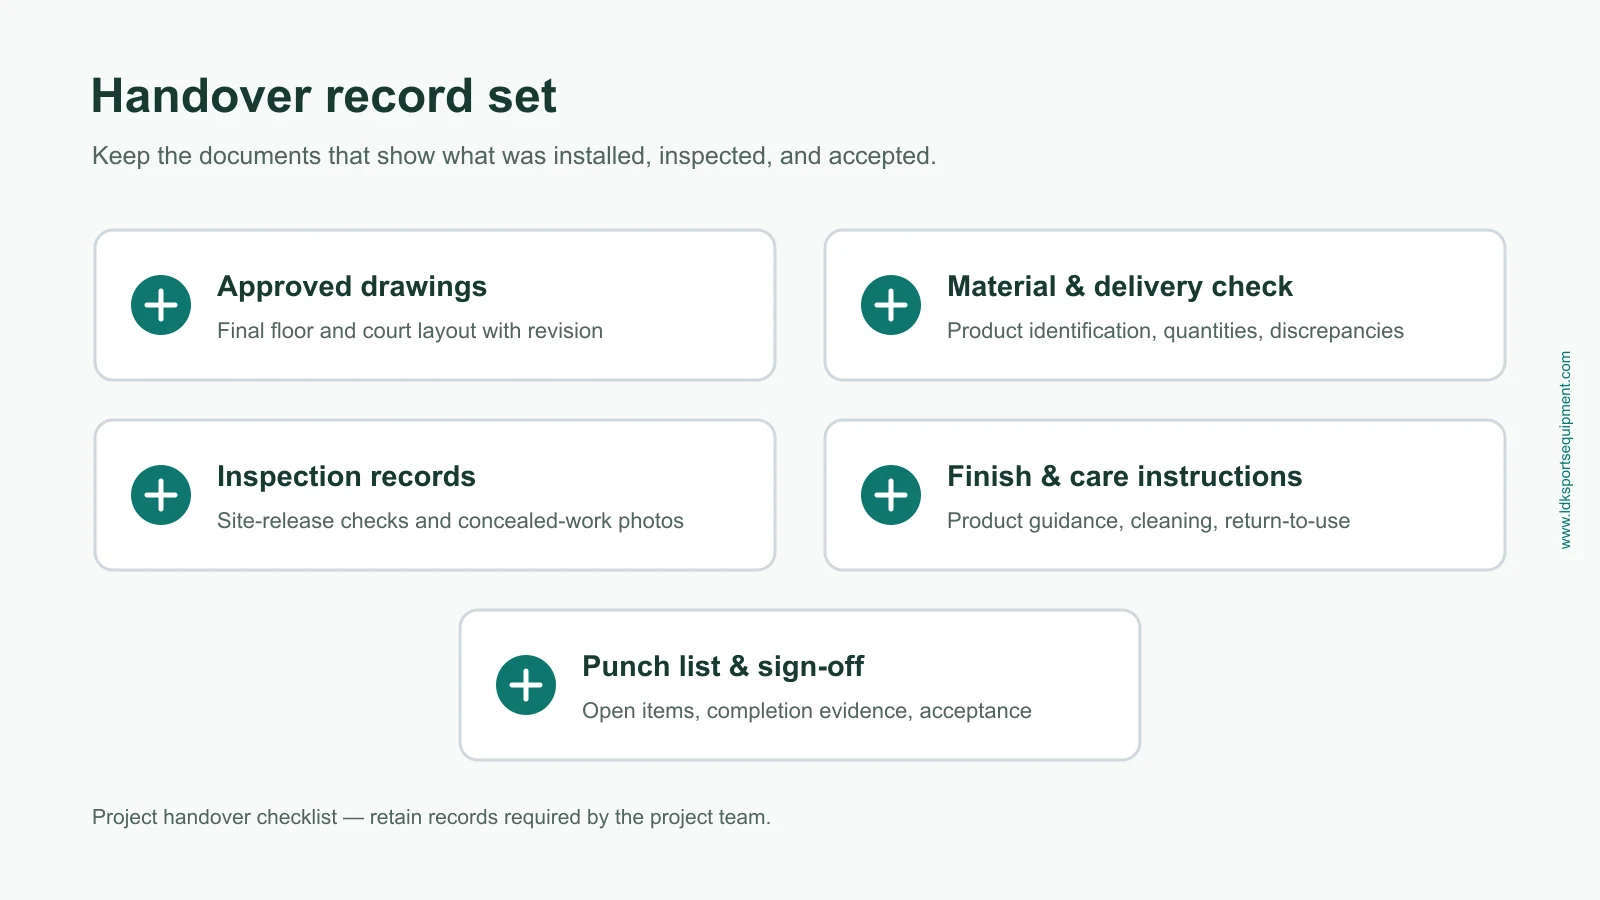
Release the floor only after the inspection record, punch list, and protection plan are complete. A practical handover file should include:
| Record | What the project team should retain |
|---|---|
| Approved floor and court drawings | Final layout and revision used for installation |
| Material and delivery check | Product identification, quantities, and any resolved discrepancies |
| Inspection records | Site-release checks and concealed-layer photographs |
| Finish and care instructions | Product guidance, cleaning instructions, and return-to-use conditions |
| Punch list and sign-off | Open items, completion evidence, and the parties accepting the work |
Brief the facility operator on the protection removal date, permitted access, cleaning method, and any restrictions stated in the finish instructions. If the project uses a separate installer, supplier, or court-marking contractor, name who will answer questions after handover and where the final records are stored.
Only when the selected sports-floor system is designed and approved for that assembly. If the drawings specify a resilient substructure, install those layers as designed; do not treat a generic wood-floor method as a substitute. Build the specified layers in order and use the section drawing to confirm each support component in the sports flooring subfloor joist systemssports flooring subfloor joist systems.
Use the fixing method specified for the approved system. The method depends on the floor assembly, and changing it can alter how the layers work together.
Schedule the work as separate site-release, substructure, wood-surface, line-and-finish, and protected-cure stages. The selected system’s instructions and the project’s trade sequence determine the final re-entry date.
Before work starts, send LDK the room plan, selected floor system, court-marking layout, and target installation window for a layout review. LDK provides multilingual remote installation guidance by email, phone, and video. Request an installation layout review.
Prepared by LDK Sports Editorial Team. This article is a project-coordination guide; approved project drawings, selected product instructions, and applicable local requirements govern the actual work and acceptance.
