Sports Equipment Manufacturer

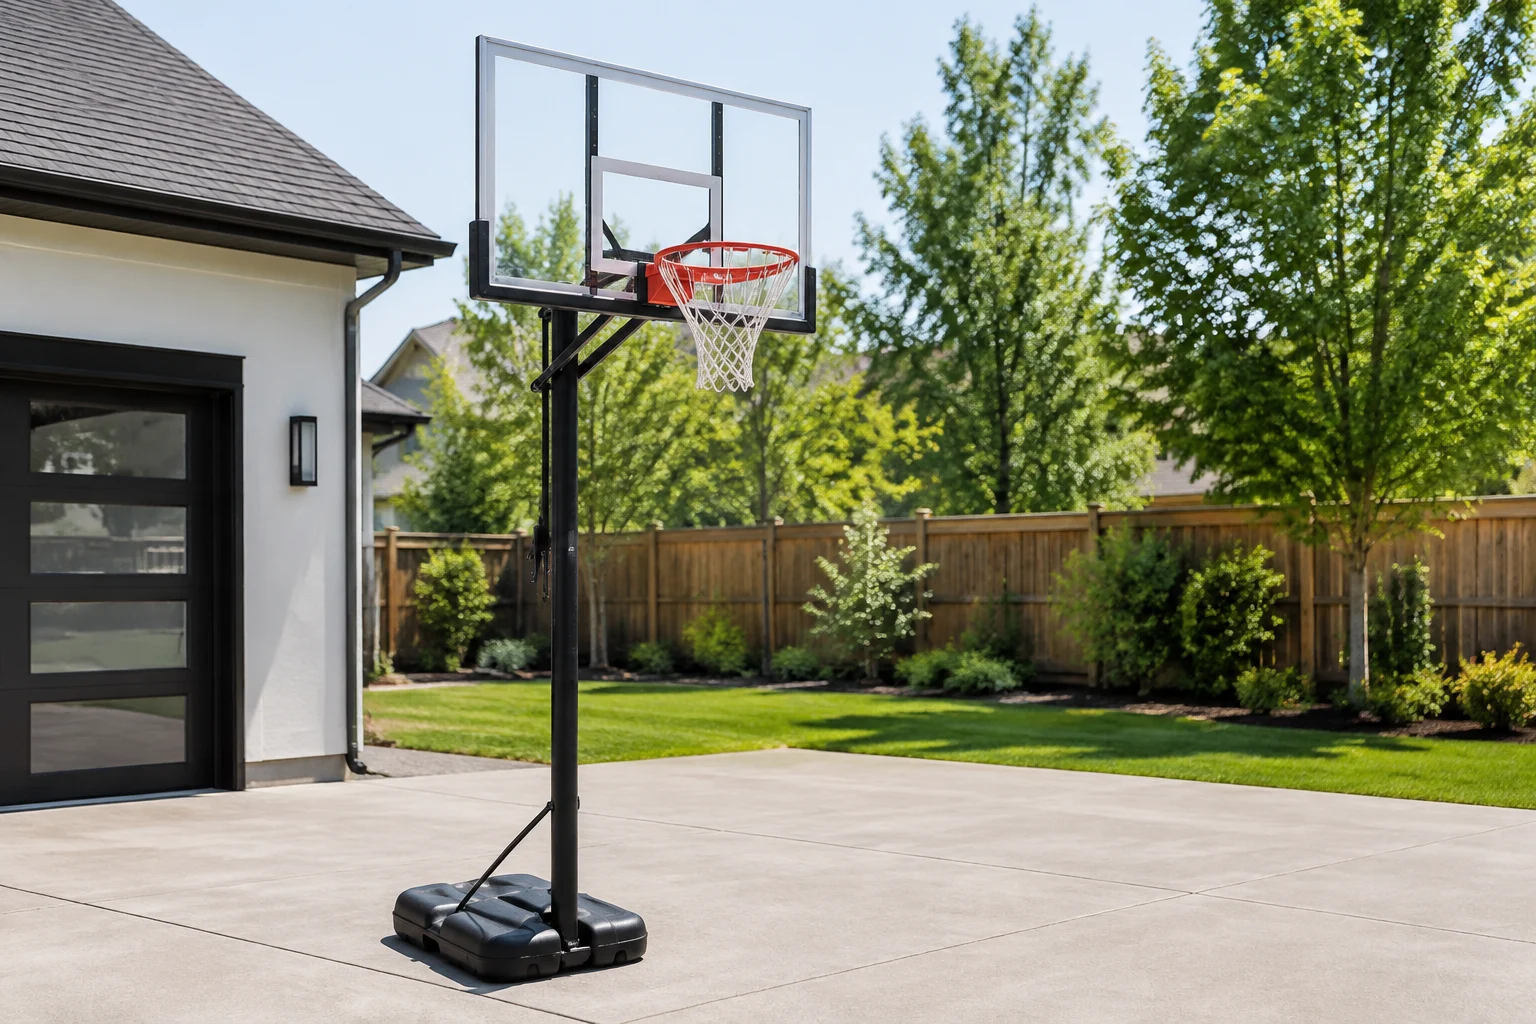
To make a portable basketball stand safely, first decide whether you are building a lightweight educational hoop or specifying a full-size, impact-loaded basketball system. The first can be a simple craft or shooting aid. The second needs a stable base, a rigid pole and support arm, a properly mounted backboard, a safe rim, and a setup that will not move during play.
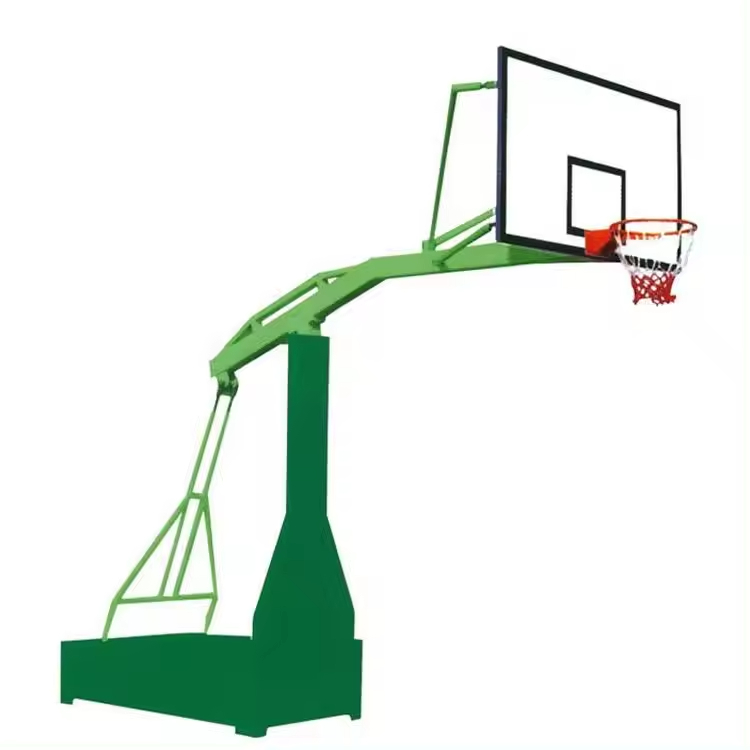
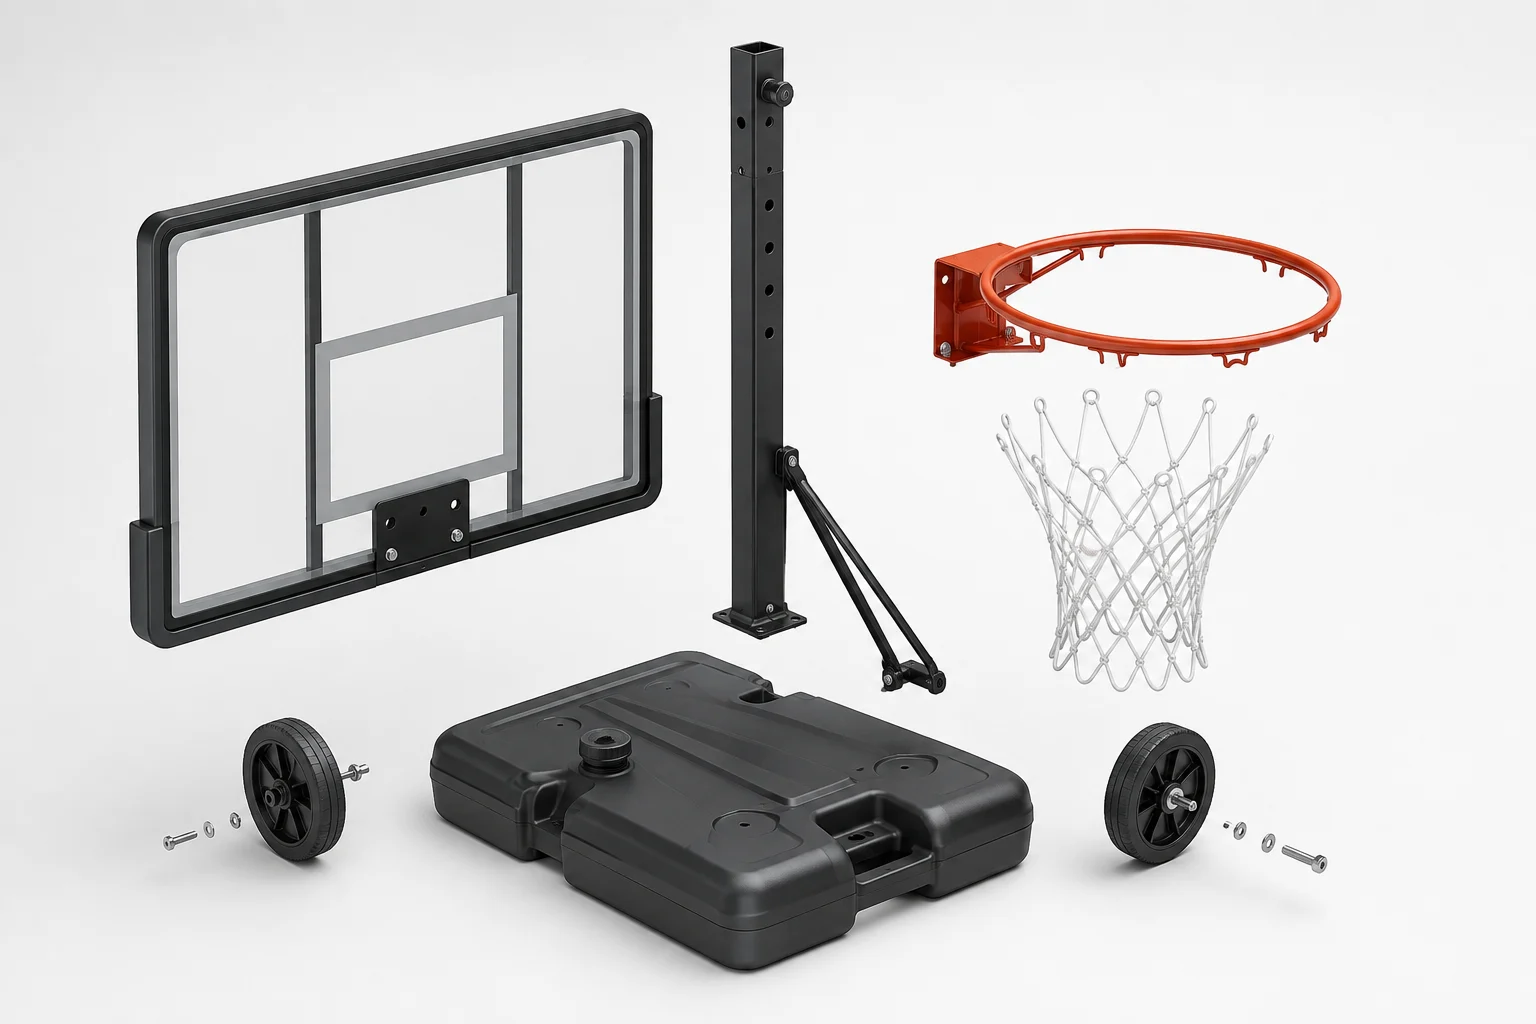
A portable stand works as a connected system: base, casters, pole, support rods, backboard, rim, net, and adjustment system. Those parts are still the right checklist, but their dimensions are model-specific. Before fabrication or purchase, confirm the exact model, intended court, rim-height range, ballast method, and installation surface.
“Portable” describes how the unit can be moved; it does not mean the stand can be light, loose, or improvised. Before choosing materials, answer four questions:
A craft-style hoop can be made from simple materials, but it should not be presented as a full-size sports-equipment substitute. For an impact-loaded or school installation, use a current engineering drawing, manufacturer instructions, and the rules that apply to the level of play.
A portable stand is a connected system rather than a single pole. Use the following checklist before you compare prices or begin assembly.
| Component | Purpose | What to verify | Universal or model-specific? |
|---|---|---|---|
| Base and ballast | Resists tipping and unwanted movement | Base footprint, ballast method, level contact, drainage and storage | Model-specific |
| Pole and support arm | Transfers the rim load back to the base | Section joints, welds/fasteners, corrosion, support geometry | Model-specific |
| Backboard | Provides the target and rebound surface | Material, frame, mounting, cracks and edge protection | Some dimensions have official references |
| Rim and net | Creates the scoring target | Rim height, mounting plate, pressure-release design, net attachment | Height may be adjustable; hardware is model-specific |
| Casters or wheels | Allow repositioning | Locking/lifting method and whether wheels are off the ground during play | Model-specific |
| Padding and clearance | Reduce contact hazards | Protected edges, surrounding clearance and local requirements | Use instructions/rules |
For competition-style reference, FIBA’s 2024 Basketball Equipment appendix specifies a backboard of 1,800 mm horizontally by 1,050 mm vertically, including the frame, with stated tolerances. That is a rules reference—not a claim that every backyard or children’s portable hoop must use the same board.
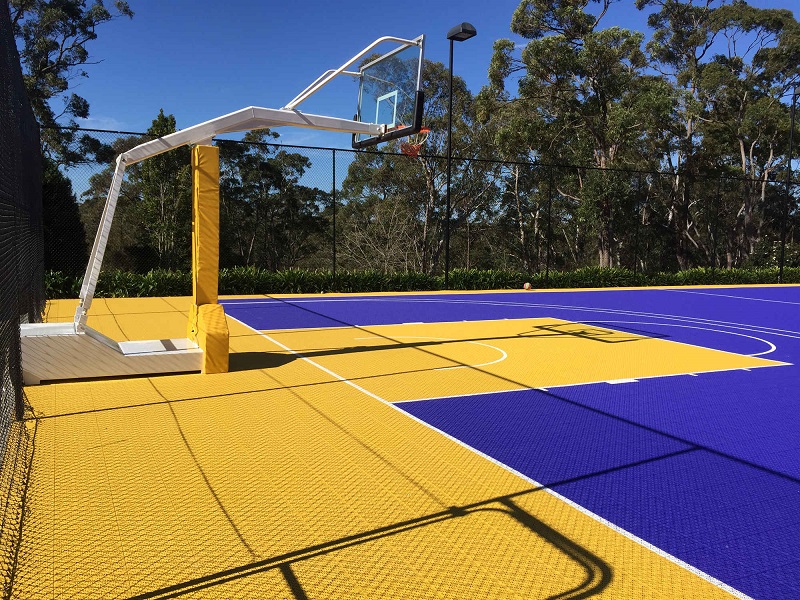
Mobile-stand configurations commonly combine a backboard, rim, support rods, and a movable base. Confirm the current model drawing before treating those features as part of a quotation.
The base is the most important part of a portable basketball stand because it controls stability. Build or specify it in this order:
FIBA’s equipment appendix says a support structure should be secured to the floor to prevent movement; where floor anchoring is not possible, sufficient ballast weight on the basket support base must be used to prevent movement. This supports the design principle, but it does not provide a universal DIY base weight.
For an LDK configuration, ask for the current base and caster arrangement so the ballast method and play position match the surface where the stand will be used.
Once the base is stable, assemble the load path in order:
A support triangle and mobile base are useful design ideas, but generic pipe diameters and extension lengths are not universal specifications. Those values depend on the frame, backboard, rim, use level, and manufacturer’s calculations.
Attach the backboard only after the pole and support arm are stable. Use the supplied fasteners, washers, spacers, and torque instructions. Do not drill a new pattern into a tempered or laminated board unless the manufacturer’s engineering documentation explicitly permits it.
For regulation-style play, FIBA places the top edge of the ring 3,050 mm above the floor. It also describes a ring, backboard support, and padding system designed for basketball equipment. If your stand is for children or casual practice, an adjustable basketball hoop can use a lower setting, but the adjustment should be locked and checked before play.
The board material also matters. FIBA’s equipment appendix distinguishes competition-level safety glass from the materials permitted for other equipment levels and requires the board to be firmly mounted. Use the exact board material and mounting arrangement supplied for the stand; do not assume that a visually similar sheet has the same impact behavior.
If adjustable height is important, compare the current LDK model’s adjustment method and locking points with the users’ age, play level, and inspection routine.
Run a short inspection before anyone shoots:
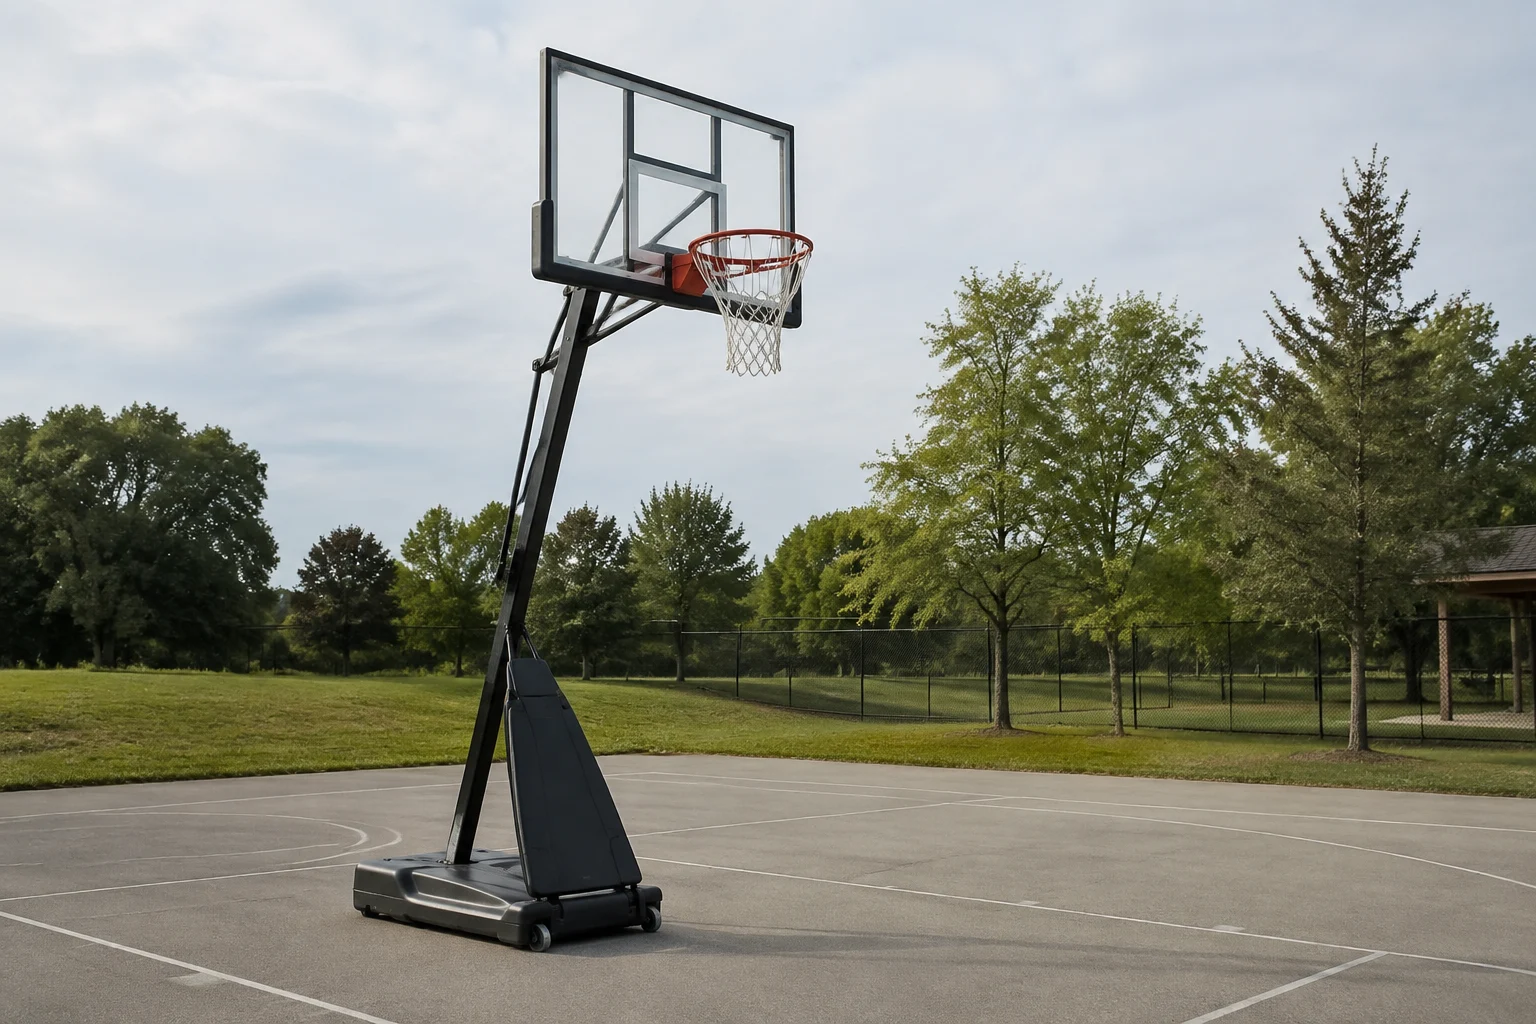
FIBA includes padding and support protections in its equipment requirements, including provisions intended to reduce impact and entrapment risks. A homemade pad should not be described as FIBA-compliant unless the complete equipment and test requirements have actually been met.
Structural failure is a stop-use issue, not a “tighten it and keep playing” issue. In a 2022 recall notice, the U.S. Consumer Product Safety Commission reported weld failures in portable basketball goals that could cause the backboard to fall and instructed consumers to stop using affected goals while arranging repair. If you see a crack, separated weld, bent arm, falling board, or repeated leaning, stop play and follow the current manufacturer remedy or obtain a qualified inspection.
Choose a DIY project only when the intended use, loads, materials, tools, and inspection responsibility are clear. DIY is reasonable for a small educational target or a carefully engineered one-off project with competent fabrication. It is a poor shortcut when players will hang on the rim, when the stand will serve a school or public facility, or when the builder cannot verify the base and support design.
A factory-made mobile stand is easier to specify: request the current product drawing, backboard and rim details, adjustment range, base/ballast method, wheel behavior, surface requirements, replacement parts, and maintenance instructions. LDK’s current model information should be checked for the exact backboard, rim, adjustment, base, and maintenance configuration before you order or fabricate around a mobile stand. Use current model information rather than old dimensions; the manufacturer can confirm which configuration matches your court, users, and installation conditions.
LDK Sports can be contacted through its current inquiry channel for model-specific drawings, configuration questions, and replacement-part guidance; confirm the details before installation.
| Symptom | Possible cause | Verify | Action |
|---|---|---|---|
| Base rocks | Uneven surface, empty/shifted ballast, damaged base | Check all contact points and ballast position | Remove from play, level or repair the setup, then recheck |
| Pole leans | Loose joint, bent pole, incorrect assembly | Compare with the drawing and inspect joints | Do not straighten under load; repair or replace the affected part |
| Board shakes excessively | Loose fasteners, cracked arm, failed weld | Inspect the arm and board connection | Stop use and obtain manufacturer/qualified service guidance |
| Unit moves during shots | Wheels supporting the stand, insufficient ballast, slippery surface | Check wheel position and base movement | Put the unit in its intended play configuration or stop use |
| Rim height changes | Pin/latch not engaged or worn adjustment part | Operate the adjustment without players nearby | Lock correctly; replace worn parts before play |
You can make a small educational hoop from wood, but a full-size, impact-loaded stand requires a verified structural design, stable base, safe board/rim attachment, and inspection plan. Do not treat a craft design as competition equipment.
There is no universal safe weight for every stand. The required ballast depends on the frame, backboard, rim, extension, surface, and use; follow the exact product drawing or engineering design.
For FIBA regulation-style equipment, the top edge of the ring is 3,050 mm above the floor. An adjustable home hoop may use another setting for the player’s age or training goal, but it should be locked and checked.
No. Stop using the stand, keep people clear, and follow the manufacturer’s repair or replacement instructions. A CPSC recall shows why a failed arm or weld can create an impact hazard.
Only if the specific stand is designed and installed for that surface. Soft or uneven ground can make leveling and movement control harder; check the current instructions and do not improvise ballast or anchoring.
A safe portable basketball stand starts with a clear use case, a known load path, a stable base, and an inspection routine. Keep the essential components—base, pole, support arm, board, rim, net, wheels, and adjustment—but verify every dimension against current documentation. If the stand is for serious or public use, specify a complete manufactured system and request its current drawing instead of turning a craft project into a full-size hoop by guesswork.